Referring a Claim
Use of an Interact product begins with referral of a claim by a claimant to a defendant (the respondent).
Create & Configure Claim
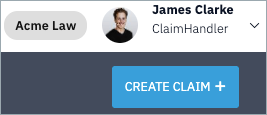
To create a draft claim, navigate to the homepage and click “Create Claim +”.
Your organisation will be selected by default under “My Organisation”. Select the respondent organisation from the list shown.
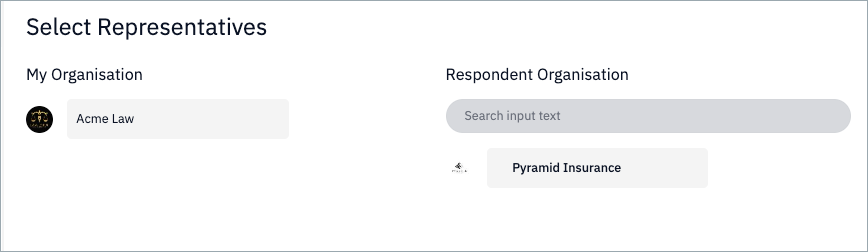
(Organisations will be pre-loaded by Nuvalaw. If the organisation you are looking for is not shown on the list, please contact support@nuvalaw.com)
Click “Configure” to proceed to claim configuration.
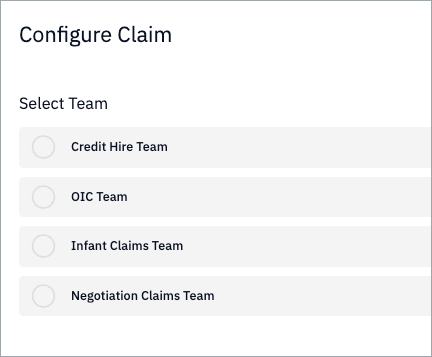
Select Referring Team
You will be presented with a list of the teams from which you can refer claims. Select the appropriate team based on you organisation set up. For example, in your organisation you may handle claims by type ("OIC Team" or "MoJ Team") or by opponent ("Insurer ABC Team" or "Law Firm XYZ Team").
Depending on the set up and operating model of your teams, which will have been carried out by the Nuvalaw Interact Administrator.
Having selected the team, all the other settings will populate automatically based on your organisation preferences.
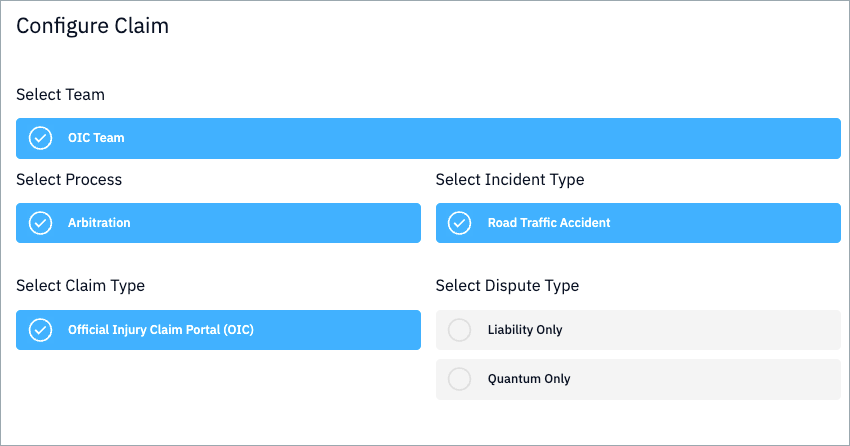
Click "Claim Details" to proceed to the claim details capture and capture the required data. When you click "Create Draft" you will see a success modal summarising the data you have captured.
Populate and Submit Draft
Upon creation of the draft, a task is created for you to complete it. By default, Interact sets drafts as due in two weeks.
If you do not wish to proceed with a draft, you can delete it by clicking on the kebab menu (three dots) on the top right hand corner of your screen when you have the claim open.
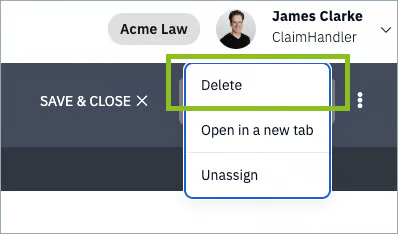
Note
Deletion is final and no record is kept of your deleted drafts.
Having created a draft claim, you can begin to populate it with all the required documentation and data.
Upload Evidence
Uploaded and system generated documents are stored under the “Documents” tab. Claimants and Defendants will need to navigate here
Note
Documents required during upload are defined in the product protocol. In most cases, these are defined non-prescriptively, with the parties called upon to supply any allowed documents upon which they wish to rely arguing their case.
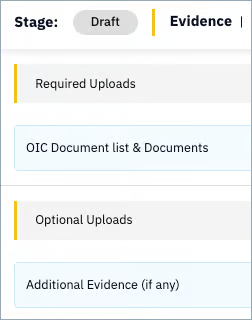
A list of the required and optional documents is shown on the left hand side of your screen and differs by product and by party.
You can upload multiple documents by drag and drop [1] or one by one.
Uploaded documents must be given a type from the Document Type dropdown list [3]. If there are required document types, these must be used, as this ensures that you have confirmed upload of those documents required by the protocol.
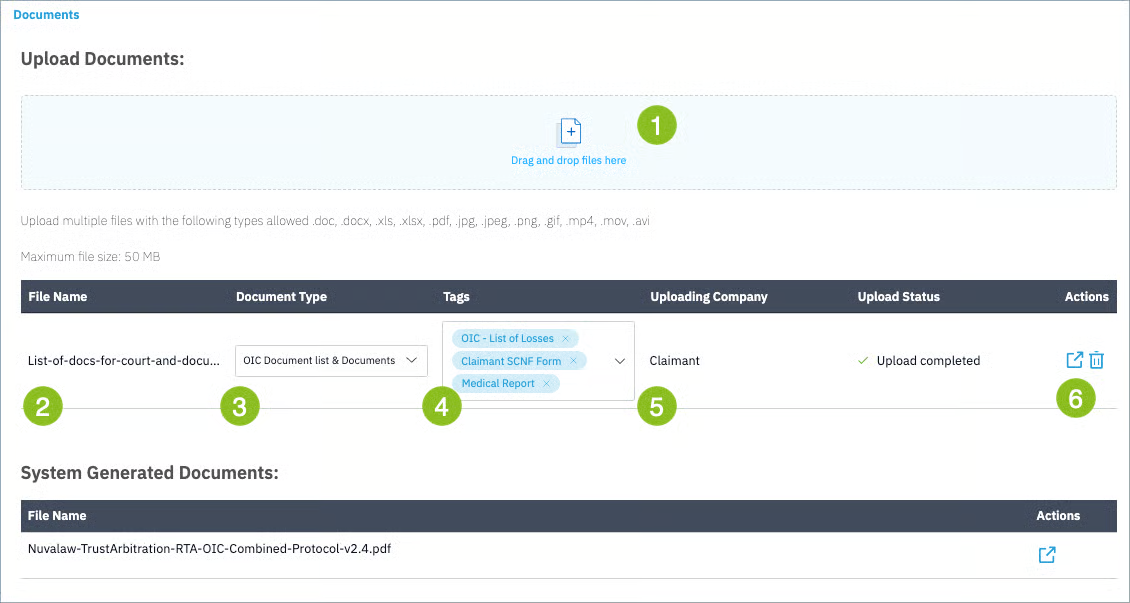
Tags from a pre-defined list can be applied to documents [4] to give more metadata to your upload. The party who uploaded the document is recorded as well, in this case "Claimant" [5]. To view or delete the document, use the action buttons on the right [6].
Liability
A claim is either for quantum, liability, or both. Where a claim is for quantum, the liability has been agreed and must merely be captured. Where liability is in dispute, you will need to set your position.
Capture Agreed Liability
To capture the agreed liability, use the contributory negligence field and set the appropriate percentage.

Set Liability Position
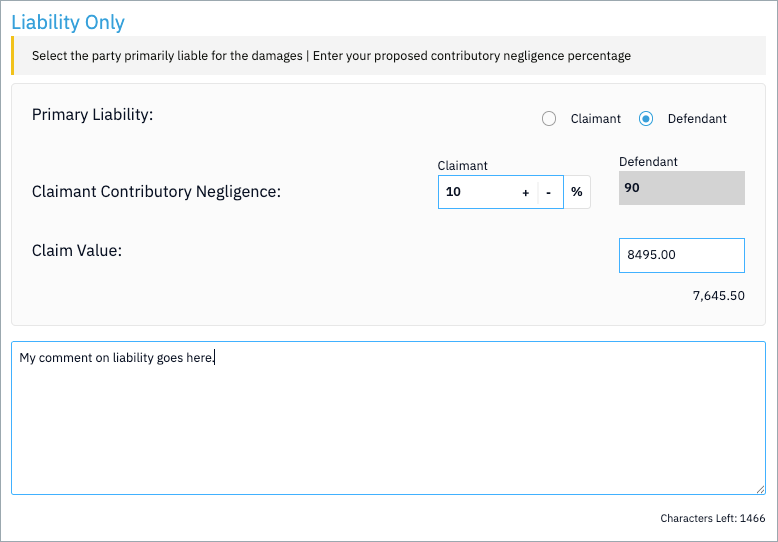
To set the position on liabilty, select the party with primary liability (as the claimant, you will always select defendant), and using the percentage field add any contributory negligence that applies.
Add the value of the claim in the field provided. The nett claim value is calculated and shown below the claim value.
Add Heads of Loss
To add a head of loss, click on it in the left hand panel where it is listed.
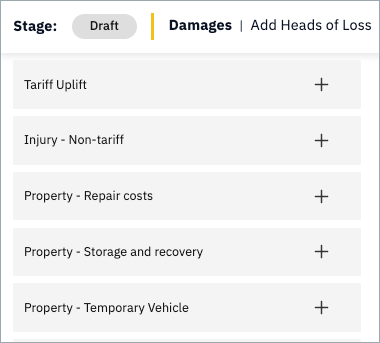
Note
This list changes per product. For example, the heads of loss shown here relevant to the OIC Protocol v2.1 are different to those relevant to those that apply for the MoJ Protocol v2.1.
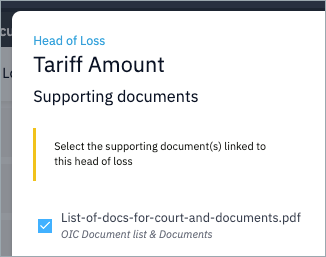
Link Evidence
When submitting a claim, you can link evidence you have uploaded. This feature allows you to specify a piece of evidence in relation to a head of loss.
Submit Claim
To submit the claim for arbitration, click the 'Submit' button. You will be presented with the confirmation and contracting modal.
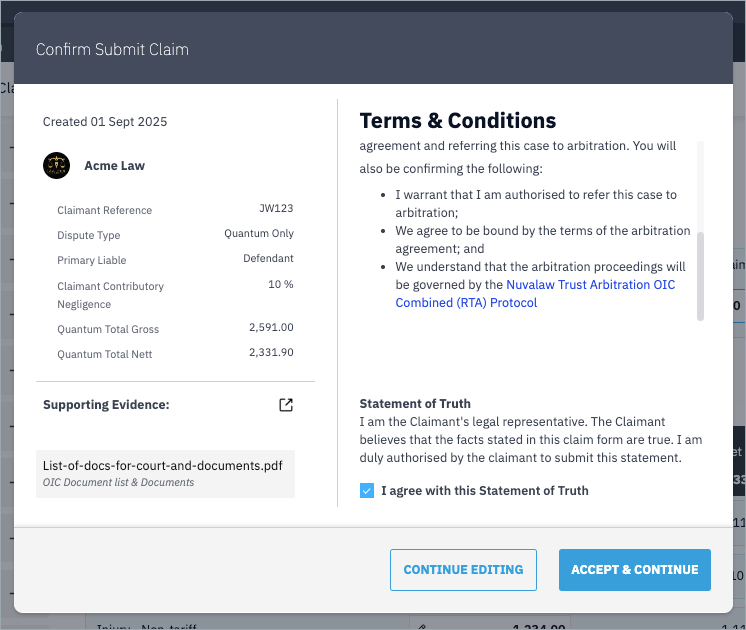
Here you will see a high-level summary of the claim you have prepared, including any evidence that you have linked.
Check the Statement of Truth and click "Accept & Continue" or "Continue Editing" if you wish to correct or amend something.
Once you have confirmed, the claim will proceed to the defendant for their review.